A board game ‘expansion’, in case you don’t know, is a set of rules and components that you buy separately from the base game, that adds to or changes the way it plays, often dramatically.
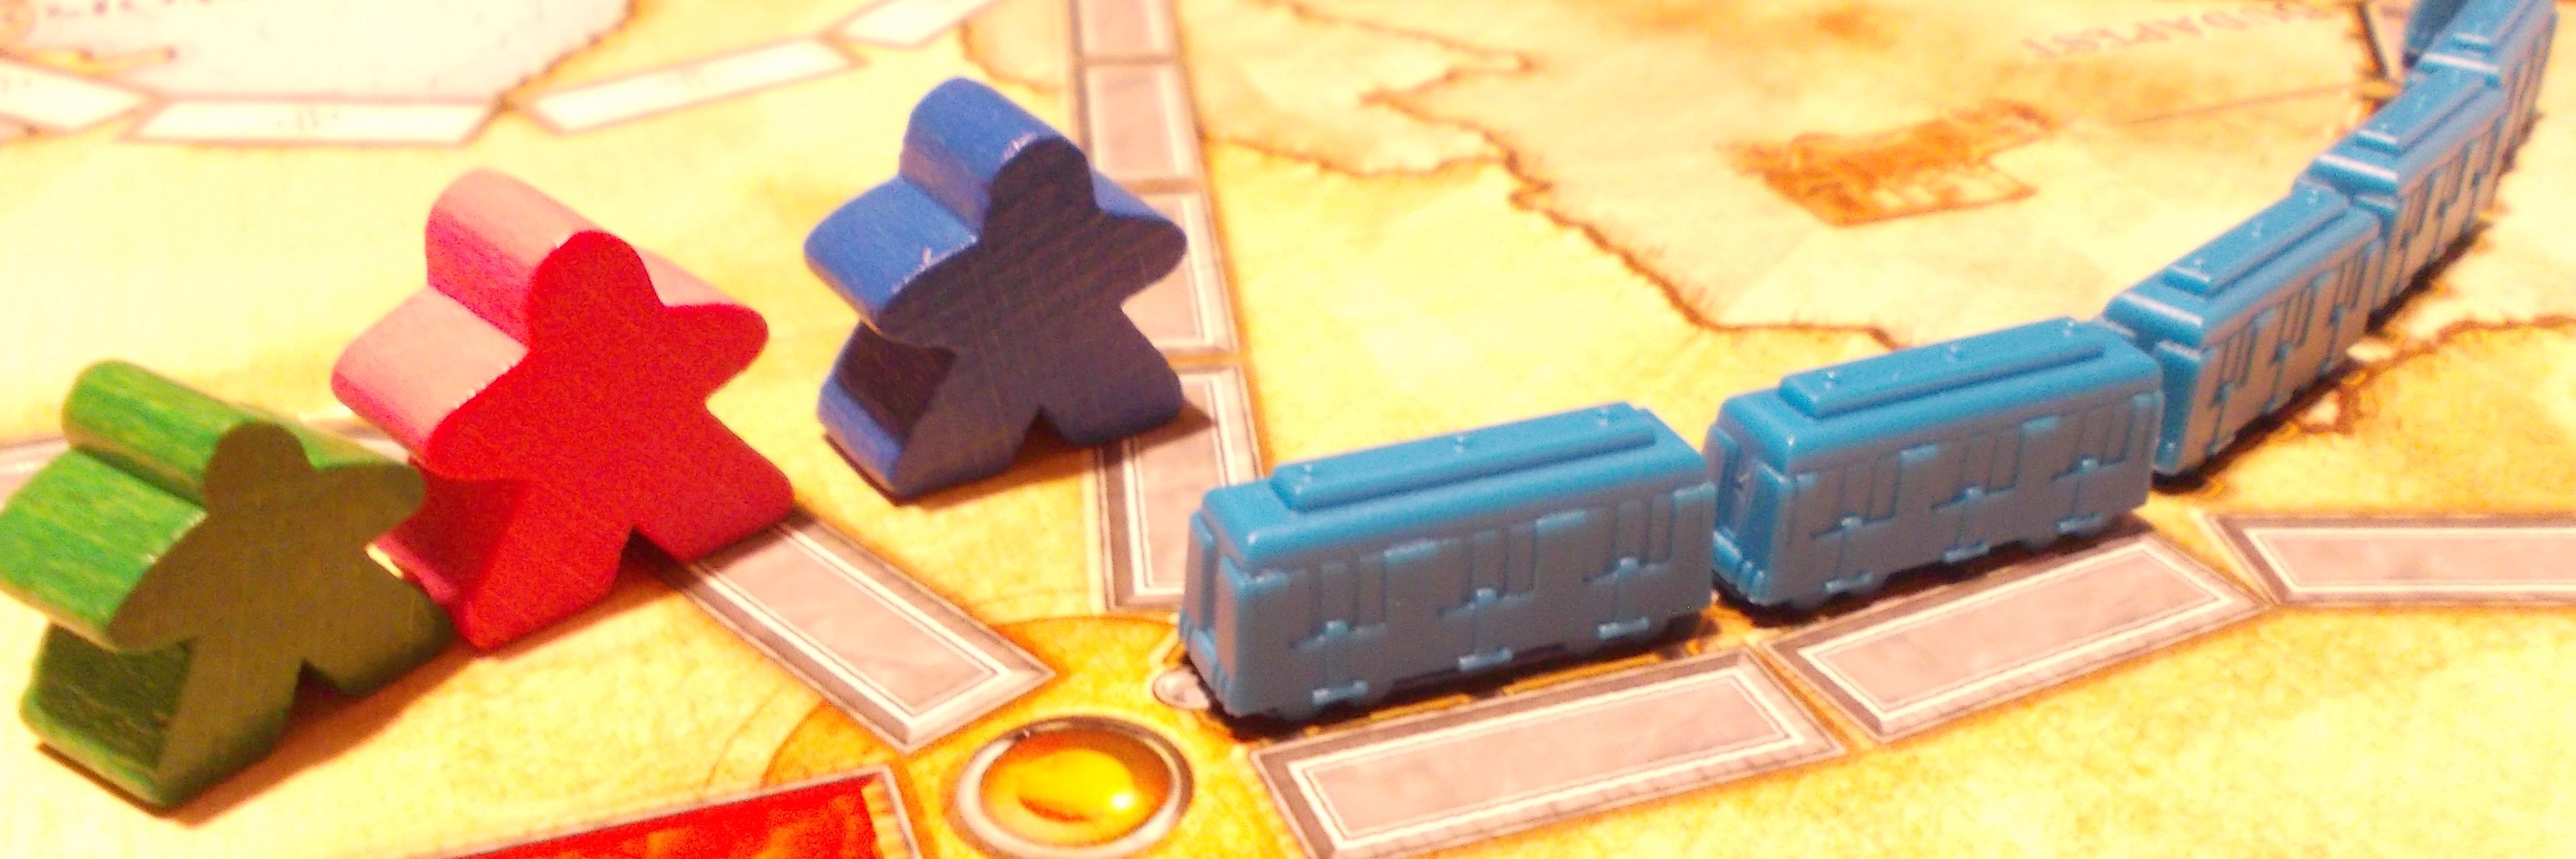
At the time of writing, as well as numerous mini-expansions and promotional items, there have been ten main expansions (often referred to as ‘big expansions’), all designed by Carcassonne’s original inventor Klaus-Juergen Wrede. You might have seen the little cardboard boxes in games stores (or, if you are like me, in almost every Amazon advert that appears on your screen) – they look like smaller versions of Carcassonne, with the Carcassonne logo on them, and artwork that feels familiar. These gorgeous little treasure boxes contain extra tiles, meeples, tokens, and other (often quite surprising) components, that you add to the base game. Plus, there is a new little rules booklet telling you how to use them.
These expansions all tend to go in and out of print, meaning that at any point in time, only a few of them are likely to be readily available from retail outlets. If you can’t find the one that you want after reading this post though, don’t panic, I am sure that it will all come around again eventually.
New players are forever asking me if I would recommend buying expansions. My answer is always, emphatically, yes. I don’t even think it especially matters which one they buy, as all the expansions I have played are great. I find it really difficult to rank them in order of preference; each of them changes things just enough so that it makes the game feel different, but also, reassuringly, the same.
Let’s go through them, one at a time, shall we?
Inns & Cathedrals (2002)

As well as an extra set of pink meeples (i.e. allowing a sixth player) and some extra standard tiles, this expansion includes a few new features. The ‘large meeple’ is slightly bigger meeple that counts double for the purposes of deciding which player controls a merged city, road or farm. The Cathedral tile is a tile which is played inside a city and causes the city to be worth more (three points per tile and banner instead of two) if it is completed, but nothing at all if it is not. Similarly, the Inn tile is played as a road tile and causes the road to be worth double points if it is completed, but nothing at all if it is not.
Here are some tips on how to play effectively with this expansion:
- The main use of the large meeple should be to steal cities from opponents. Take care though, that it does not get trapped in a city that can never be finished.
- As soon as an opponent plays a large meeple, try to find a way of trapping it.
- Towards the end of the game, consider using the large meeple to steal a farm.
- If an opponent has a long road or a big city that they might have difficulty completing, consider playing an inn or cathedral there, so that they score no points for it.
- As soon as you have played an inn or a cathedral on a road or city you own, try to complete it as soon as possible. Your opponents will be trying to steal it or share it with you, or trying to make it impossible for you to complete.
Traders & Builders (2003)

Builder: “Wow! A talking pig.”
This includes a pig meeple (yes, I am calling it a ‘meeple’ even though it is an animal and the ‘eeple’ bit does not really work) and builder meeple (that one’s fine) for each player. The pig is played on a field that the player controls, and gives the corresponding farmer meeple one extra point per adjacent city. The builder meeple is played on a road or city that the player controls, and gives that player an extra turn whenever he places a tile on that feature.
I do like the fact that Carcassonne has pigs in it. In terms of strategy though, it does not make a huge difference to the way the game plays. My only advice would be not to play it too soon, as you want to make sure that you win the farm in which it is deployed.
The builder, on the other hand, is a very interesting new character, who changes the game a lot. Getting an extra turn is an incredibly powerful advantage, so you will want to make as much use of the builder as possible. Here are some suggestions:
- Play the builder early, and often.
- Just like with the large meeple in the Inns & Cathedrals expansion, take care that your builder not become trapped. Try to position him on the edge of the board where it will always be possible to place new tiles.
- Always try to trap an opponent’s builder in a feature that is impossible to complete.
- When playing with this expansion and the base game, there are more city tiles than road tiles. Statistically therefore, there is a slight advantage in playing your builder on a road, as you are likely to get slightly more extra turns.
Traders & Builders also includes some extra city tiles which have goods symbols on them: wine, wheat, or cloth. When a city with these symbols is completed, the completing player gets goods tokens even if they do not control the city. At the end of the game, the player with most tokens for each good scores 10 points.
This is another game-changing new feature. You should always have one eye on the goods situation, as you will want to win as many of the ten points as possible. In terms of strategy, I will just make this obvious (but surprisingly often overlooked) point:
- There are 5 silk tokens, so you only need 3 to win.
- There are 6 wheat tokens, so you only need 3 to at least share in the win.
- There are 9 wine tokens, so you need 5 to be sure of a win.
- Once you have guaranteed yourself a win in any type of good (or indeed, if you are guaranteed a loss), you can ignore that good for the rest of the game.
Oh yes, and the expansion also comes with a cloth bag for drawing tiles from, which is really useful.
The Princess & The Dragon (2005)

There are 30 tiles in The Princess and the Dragon. There are tiles that have a volcano or a magic portal feature, other have symbols for the dragon or the princess. It also has a fairy meeple, and yes, a dragon meeple.
The dragon meeple enters the game when the first volcano tile is drawn and placed. Then, the dragon tiles (which are previously set aside) are shuffled in with the other tiles and the game continues. Whenever a player draws a dragon tile, it is played as normal, but then the game is briefly interrupted while the dragon moves! Each player takes turns to move the dragon by one tile. It does not actually say in the manual that you must say “RAAWW!” as you move it, but you should. The dragon moves six times altogether, and any meeple it comes across on its journey is eaten (returned to its owner’s supply).
Dragons, however, as everyone knows, are afraid of fairies. Therefore, you can use the fairy to protect your own meeples. You can move the fairy to any tile you choose, and the dragon will refuse to go there. The fairy also scores points for you if you have it on one of your tiles at the beginning of your turn, or if it is on a feature when it is completed.
Here are some tips on how to get the most out of using the dragon and fairy:
- Try to complete cities and roads as soon as you can. Your opponents will view all your meeples on big cities, long roads, and monasteries, as targets for the dragon.
- Because the volcanoes are usually placed around the edge of the board, the dragon is more likely to operate around the edges than in the middle. This means that if you can establish a farmer in the middle of the board early in the game, you will stand a good chance of winning the farm war.
- The player who plays the dragon movement tile should consider moving the fairy instead of deploying a meeple. This could be to protect one of their own meeples, or to make an opponent’s vulnerable.
- The fairy can also be used to force the dragon in a general direction which will potentially take out meeples from several opponents.
- If you are not planning on deploying a meeple on your turn, it is usually a good idea to move the fairy, because you earn points if you still have it at the beginning of your next turn. Conversely, moving it prevents another player from earning points that way. These points really add up over the course of the game (especially in a two player game), as do the ones you get for completing a feature where the fairy is.
- Keep track of how many volcanoes there are left in the bag, so that you know when it can no longer teleport about the board. There are six volcano tiles in total.
- Similarly, keep track of how many tiles are left that can move the dragon. There are twelve of these in total.
- Consider using the dragon to deliberately eat one of your own meeples, if it suits you. For example, if a meeple is trapped in a city or on a road that it has no chance of winning, or one.
As well as the dragon and the fairy, this expansion also includes “princess” tiles. These are all city tiles, which, in addition to the normal function, have a princess icon on them which allow the player to remove a knight from that city and return it to its owner. Some tips for using the princess tiles:
- Usually, you will want to remove an opponent’s knight, freeing up the city for your knight, or, if you are currently sharing it, winning it outright.
- Sometimes though, you might want to take a knight of your own back, usually because you think you can find a better scoring potential for it elsewhere.
- Always be aware that an opponent can evict one of your knights at any time, so try to complete your cities as soon as you can. Big incomplete cities are targets for your opponents.
- Keep track of the number of princess tiles left in the game, so that you know when the princess threat is over. There are six altogether.
Finally, the expansion also includes six “magic portal” tiles that allow you to place a meeple on it, then teleport it to any unclaimed feature. Because of the activities of the dragon and the princesses, there are likely to be quite a few of these around. Some tips:
- Try to teleport to a tile near the centre of the board, away from potential volcano sites.
- Don’t forget that you can teleport to farms. Because there are likely to be more completed cities than in standard game, farms are especially important with this expansion.
When this expansion first came out, a few players voiced their displeasure with the fantasy theme. Others were unhappy with the way that the meeples could now be removed from the board, at the whim of an opponent, seemingly making planning and strategy less effective.
However, there are also a lot of players who really love The Princess & The Dragon, and I am one of those people. With the right group of players, this expansion transforms Carcassonne into a fun “take that” game. I find that playing with this expansion generates a lot more conversation and laughter than usual, which I do not think is a bad thing.
Another person who really loves The Princess & The Dragon, is Klaus-Juergen Wrede himself, who once said that this is his favourite expansion.
The Tower (2006)

One of the key features of this expansion, is that it comes with a big tower-shaped tile dispenser. It looks good, but I prefer to use the bag that came in the Traders and Builders expansion.
In terms of gameplay, The Tower expansion contains 30 wooden tower pieces and 18 tiles with tower bases on them. Players can build a tower by placing tower pieces on top of each other. Whenever they do so they can capture any opponent’s meeple within range and keep it prisoner in the tower until a points ransom is paid or prisoners are exchanged. The range is determined by the height of the tower.
Here are my thoughts on strategy:
- Capturing an opponent’s meeple, where it was the sole occupier of a potentially high-scoring feature (say, a big city) that is just one tile away from completion, is a fun thing to do, but it is not always a good tactic. Although you have deprived that opponent of lots of points, the feature is now available, and is likely to be claimed by whoever draws the final required tile. Unfortunately, the maths says that this is probably not going to be you. In a two player game this is fine, as you have nothing to lose, but in a game with more players, you need to consider if the original occupier of the city was more of a threat than any of your other opponents who could benefit from your move. If you are well behind in the game, it might be worth the risk. If not, though, you might want to consider other options.
- In most of the multiplayer games I have played with this expansion, the first player to draw a tower tile cannot resist the temptation to capture an opponent’s meeple. They then found themselves cast in the role of bad-guy for the rest of the game, and were attacked disproportionately often (especially, but not exclusively, by the initial kidnapping victim).
- Players often capture an opponent’s meeple just to get their own meeple back. By avoiding having hostages, you can often avoid being targeted quite as much.
- In multiplayer games, try to cultivate feuds between other players. One way to achieve this is to place tower tiles in places that are near to an opponent’s potentially high-scoring meeple, but not actually capture it yourself. Sooner or later, one of your other opponents will do it instead, and the feud is on.
- Placing a farmer, or any meeple with the potential to score lots of points, on a tower tile, is usually unwise, as it will probably get captured. However, it is sometimes worth doing, if you do not have any other great options available, as it forces an opponent to waste a move removing it, a move which could have been spent doing something better for them and/or worse for you.
- Farmers played at the beginning of the game rarely survive to the end of the game. When farmers are captured it often leaves a field unclaimed, and if it is a big field, you should make it your top priority to claim it. Be careful not to place your farmer within range of a tower, and be aware that if there are lots of points at stake, a distant tower that seems well out of range could still be a threat, as your opponents are likely to conspire to build it as tall as it needs to be. Also, tower tiles are likely to appear next to you, if a space is available. The best place to play farmers, therefore, is in “holes” in the map, with no towers on that row or column. The opportunity to play such a perfect move is unlikely to come up, but you should try to get as close to the ideal as possible.
Abbey & Mayor (2007)
This expansion contains three new figures for each player, one abbey tile for each player (which is played differently to standard tiles), plus a number of new standard tiles.

The mayor meeple looks a bit like the big meeple from Inns & Cathedrals except that he is wearing, for some reason, massive trousers. Think of MC Hammer circa 1990, and you will not be far wrong (“MC”, “Mayor of Carcassonne” – this surely cannot be a coincidence?). The mayor is played in a city and he counts as one meeple per pennant in the city.
The wagon is a figure (or is it a meeple? I don’t know. My head hurts) which moves around. It scores points the same way as a regular meeple does, but in addition, whenever the feature it is on is completed it can move to an adjacent unclaimed and incomplete feature and claim that.
The barn is a figure/meeple that can, under certain circumstances, be placed on a field. It scores like a farmer, but with four points per city instead of three. Furthermore, when it is first played, any existing farmer meeples in that field are scored as they would be at the end of the game and then returned to their owner’s supply.
The abbey tiles are given out at the beginning of the game, one to each player. They work like wild cards and can be placed (instead of drawing and playing a normal tile) in any gap in the board which is already surrounded on four sides. It does not have to match the edges of the adjacent tiles, and it scores like a monastery.
Here are my thoughts on strategy:
- The barns can score a lot of points for you. If, early on in the game, you can claim a farm with a few completed cities, then play the barn on that farm, you will immediately score three points for each city, then get four more points for each city at the end of the game. Furthermore, nobody will be able take the farm away from you, they will only be able to share it. Therefore, it is usually a good idea to play a barn near the middle of the board, as soon as possible. Then, you can work on completing small cities in your farm, safe in the knowlege that the points are yours.
- Because barns are so powerful, be wary of playing tiles that have fields at the corners next to others that do, as you might give an opponent an opportunity to play a barn. Unless, that is, you want to tempt an opponent to play a barn in a suboptimal position…
- The traditional Carcassonne strategy of stealing farms by connecting fields and using farmer meeples, is less effective, because of the barns.
- Also, the traditional Carcassonne strategy of playing tiles in a way that makes it difficult (or impossible) for an opponent to complete a high-scoring feature, is less effective with this expansion, this time because of the abbey tiles.
- The abbey can be used to block off players who are trying to steal a big city or farm from you.
- If you want to use your abbey to block someone, or to complete a feature of your own, don’t just wait for the hole to appear, create it yourself by placing tiles around it.
- A possible advantage/disadvantage of using the abbey to connect disjointed city tiles, is that it can instantly complete several cities, which could be worth a lot of points to whoever owns the adjacent fields.
- In many ways the mayor works in a similar way to the large meeple. It is more powerful though, because in a large city, with lots of pennants, the only way to compete with it is with another mayor.
- Always be aware of any unclaimed high-scoring features on the board. If you can place a wagon next to it on a feature that is easy to complete (or even better, a feature that is completed immediately when you play the wagon) then you should be able to claim that feature for yourself. For this reason, it is usually better to have the wagon in your supply rather than on the board.
Count, King & Robber (2008)
This was actually a compilation of three existing expansions, and one new one.

Instead of the starting tile, or the river, the game begins with the placing of a large (3 tiles by four tiles) complete city – the city of Carcassonne itself.
It has four quarters: the castle, the market, the blacksmith and the cathedral, each corresponding to a type of feature. By performing certain tasks, players can place meeples from their supply on the city quarter of their choice. Later on in the game, players can move their meeples out of Carcassonne and use them to take control of a corresponding just-completed feature. This is blocked however, by the count meeple, depending on which quarter of Carcassonne he is standing in.
There are five cult place tiles which work similarly to monasteries, and when a cult place is positioned next to an incomplete monastery, they have a race to see who can complete first, and whoever loses scores no points.
There are king and robber tiles, which score points for whoever owns the biggest city (not including Carcassonne) and biggest road, respectively, at the end of the game.
Finally, there is also a different set of river tiles, which, frustratingly, you cannot use in the same game as the Carcassonne city tiles – you have to choose one or the other.
My thoughts on strategy for this expansion, are as follows:
- The obvious strategy seems to me, that you could use the meeples in Carcassonne city to win the farm war. That is, you could put a few meeples into the market, ready to emerge at the end of the game, and steal the biggest farm. However, if you do this, the other players will undoubtedly notice what you are up to, and try to use the Count to stop you. If you are going to use that strategy, you must try to ensure that you are the last person to move the count.
- The fact that the king and robber tokens are awarded to the player who completes the largest/ longest features and is nothing to do with who owned the city/ road means there is now an incentive to complete other player’s cities and roads. This also means that other players now have an incentive to complete yours too.
- If you already have the king or robber token, protect it by finishing off the big cities and long roads yourself, just before they overtake your record. Alternatively, concentrate on making them difficult to complete.
- Challenging a monk or a heretic is usually a risky gamble, because the meeple that was there first has the advantage that it is closer to being completed when the challenge begins. Therefore, only initiate challenges if you think your opponent is going to find it difficult to complete the feature quickly.
The Catapult (2008)
 This expansion includes a wooden device, called the catapult, which is used to aim and fire tokens onto the board, like a trebuchet. Points can be scored depending on where the tokens land, and meeples can be affected if they are hit.
If you think that sounds crazy, and that it sounds as though it is going to change the game completely, you would be right.
I think that it is fair to say that this expansion is not for everyone. A lot of people hate it with a passion usually reserved for child-murderers and American presidents. They seem to dislike the fact that success or failure depends not on strategy, but on how good you are at using a spring-loaded bit of wood to flick a bit of cardboard.
Others love it though.
I am somewhere in between. True, it does change the feel of the game a lot, but with the right group of people, it changes it into something you can just relax and have fun with, without having to think quite as hard as usual.
I won’t be giving you any strategy tips, as strategy does not really come into it. My only advice for you is, before you play, practice firing the catapult as much as you can. Don’t do what I did the first time I played a game with this, and launch a token, without practicing first, into a nearby gin and tonic.
Bridges, Castles and Bazaars (2010)

This expansion introduced bazaar icons, castle tokens and (my favourite) wooden bridges that allow road tiles to be placed they could not otherwise be placed.
Bridges have a massive effect on farms, as fields that would otherwise have been divided will now be connected, so farms are likely to be much bigger. I once saw a game played with this expansion, where the entire board was one big farm!
- Because bridges do not separate fields, a bridges can be used as a powerful weapon in a farm war! Bridges enable you to place a plain field edge next to a road, so you can make a farm wrap around the road, joining up farms for more points, or possibly stealing them from opponents.
- Do try to place a meeple on a bridge at some point in the games, for no other reason than the fact that it looks cool.
- Playing a castle is a gamble – if you are able to use it to score more than four points, then it has paid off, otherwise it has not. It is usually worth gambling early on in the game, in an area where lots of features are being completed. Near the end of the game, though, a castle on the edge of the board might never have an adjacent feature completed.
- A powerful strategy is to place one half of a potential small city next to a big incomplete feature, and put a meeple on it. Then, if you can manage to play the other half of that city before the feature is completed, you can put a castle on it, then work to complete the feature yourself, and claim lots of points.
- If you see an opponent doing the strategy above, you should either complete a different, smaller feature adjacent to the castle, or make sure that the larger one is never completed.
- Avoid placing a castle near to a road, since roads rarely score many points.
- Early in the game, bazaars are less significant. At the end though, a certain tile might enable the completion of a large feature, or the stealing of a farm or big city. Be aware of how many points the tiles are all worth – not just to you, but to your opponents.
- I could write a lot of tips here on the psychology of the auction, but to be honest, just thinking about that sort of thing gives me a panic attack.
Hills and Sheep (2014)

This expansion introduced vineyards, which score more points for monasteries, making them more attractive.
It also introduced hills, and the new rule that meeples played on hill-tops win ties. Hill tiles actually have real height, because they are played on top of other tiles which drawn from the bag (effectively removing them from the game) and played face down. I really enjoy playing with hills in the game, because removing tiles from the game unseen makes tile-counting ineffective. And I don’t enjoy tile-counting, so any excuse not to do it is fine by me.
The most eye-catching new feature of this expansion though, is the addition of shepherd meeples and the sheep tokens (and occasionally wolf tokens) which are drawn from a bag. These add a “push your luck” mechanic to the game. You score points for drawing sheep tokens, but you loose all those points if you draw a wolf token. It forces you to ask yourself if you dare to draw another token and risk all the points that you have built up so far.
The obvious question is, how far should you push your luck? How many sheep points should you aim for before you decide to score them. It should be easy to work out right? It’s just probability right? We could do it on a spreadsheet? Well, I did have a go, but it is not as easy as you might think. I could tell you that the odds of the first six tokens all being sheep tokens is approximately 50-50, but how much does that really help? If you already have six sheep tokens out and you are thinking of drawing a seventh, the odds are still very much in your favour. The same goes for the eighth token, and the ninth. In fact, the odds are in your favour for each individual decision right up to the fifteenth draw, when there are only four tokens left in the bag. However, the chances of you getting that far, without drawing a wolf in fourteen successive draws, is less than 4%.
So what is my advice? According to my maths, in order to maximise your expected score, a decent rule of thumb would be that you should cash in when there are about six tokens already in play. However, if those tokens are mainly ones and twos, and the threes and fours are still in the bag, it would be worth pushing your luck further. Also, my maths does not take into account the possibility that an opponent could, at any time, cash in their own tokens or draw a wolf for themselves, and change the odds completely. If you think an opponent is about to do that, it might be worth staying in longer than you otherwise would, or perhaps play the tile elsewhere to avoid having to make the decision now.
Although drawing tokens from the bag is fun, and feels like a big part of the game, the reality is that in a typical game most players will only score between ten and twenty points from shepherds. Therefore you should not allow it to become too much of a distraction from the real point-scorers.
Under The Big Top (2017)

In this expansion the circus arrives in Carcassonne. The big top meeple moves around the board whenever a circus tile is played (a bit like the way the dragon in expansion 3 moves whenever a volcano is played). Points, determined by randomly drawn animal tokens, are scored by all nearby meeples when the circus leaves town. Some of these meeples might be acrobats in the form of a human pyramid. Or once could be the ringmaster, who can score even more points if he is near to other circus tiles.
This expansion includes 20 new tiles, lots of new ways to score points, and another layer of strategy for you to think about.
Here are my tips on how to play effectively:
- Even in a 5 or 6 player game, you can expect to draw at least a few circus tiles. It will be helpful if, when you do draw one of them, you already have somewhere you can place it where it will score you lots of points. The best way to achieve this is to have one or two areas on the outside of the board where your meeples are on adjacent squares. This is especially good advice when the low scoring animal tokens have already gone, but the high scoring animals still remain.
- Five points for an acrobat is a decent score, but hardly an overwhelming one, especially as there is a chance he will become trapped. However, if the acrobat is next to the big top, it will also score points from the animal token there, making it far more worthwhile. A human pyramid next to a big top is also more likely to be completed, as opponents, keen to score the animal points, are likely to complete it for you.
- One of the highest scoring combos in this expansion, is to have two or three acrobats in a human pyramid, next to the big top, then you move the big top to another side of the human pyramid, employing the ringmaster as you do so. For this reason, if you can spare the meeples, it is often a good idea to leave your human pyramid intact for a while after completion.
- If there is a complete human pyramid next to the big top, in which you do not have any meeples, it is possibly a good idea for you to score it on your turn, before the big top moves again. That way you will prevent your opponent(s) from scoring. The decision to do this though, should probably only be taken if you think the animal might be a high scoring one, and the player(s) who would benefit is/are your main rival(s), and you don’t have any other, better, options.
- Because all players want to score highly with their Ringmaster meeples, there is often a tendency in the game for players to place circus and acrobat tiles next to each other. For this reason it is imperative that your Ringmaster does not become trapped early in the game, or you will miss out on all the potential points he could score. Try to play him at the same time as you complete a feature, so that he goes straight back to your supply, scoring you extra points from the nearby circus tiles. A well-placed Ringmaster can easily score ten points or more, instantly, simply by completing a road or small city, in circus territory.
- Do not play the Ringmaster as a farmer, unless it is very near to the end of the game.
- Note that there are two tiles with a road terminating in a circus feature (one a big top space, the other an acrobat space), and the other three sides being fields. These operate the same way as the equivalent monastery tiles in the base set, in terms of being very useful for stealing farms. For this reason, you should keep track of whether or not these have been played, so that you know whether or not your farms (or your opponents) are safe.
